Get familiar with Spring Security and the Spring Boot Security features.
Time: 35 minutes.
Directory Web Security App
Remember this lab? Where we have a persons directory? We are going to re-take part of the code and make this project more secure. You saw in the demo how easy is to set up the security using the JDBC but it was using a pre-configured schema (users and authorities). In this lab we will use our own schema (our own data) so you see how easy is to implement spring-security in a web project.
-
Open a browser and hit the url: http://start.spring.io
-
Click the Switch to the full version link.
-
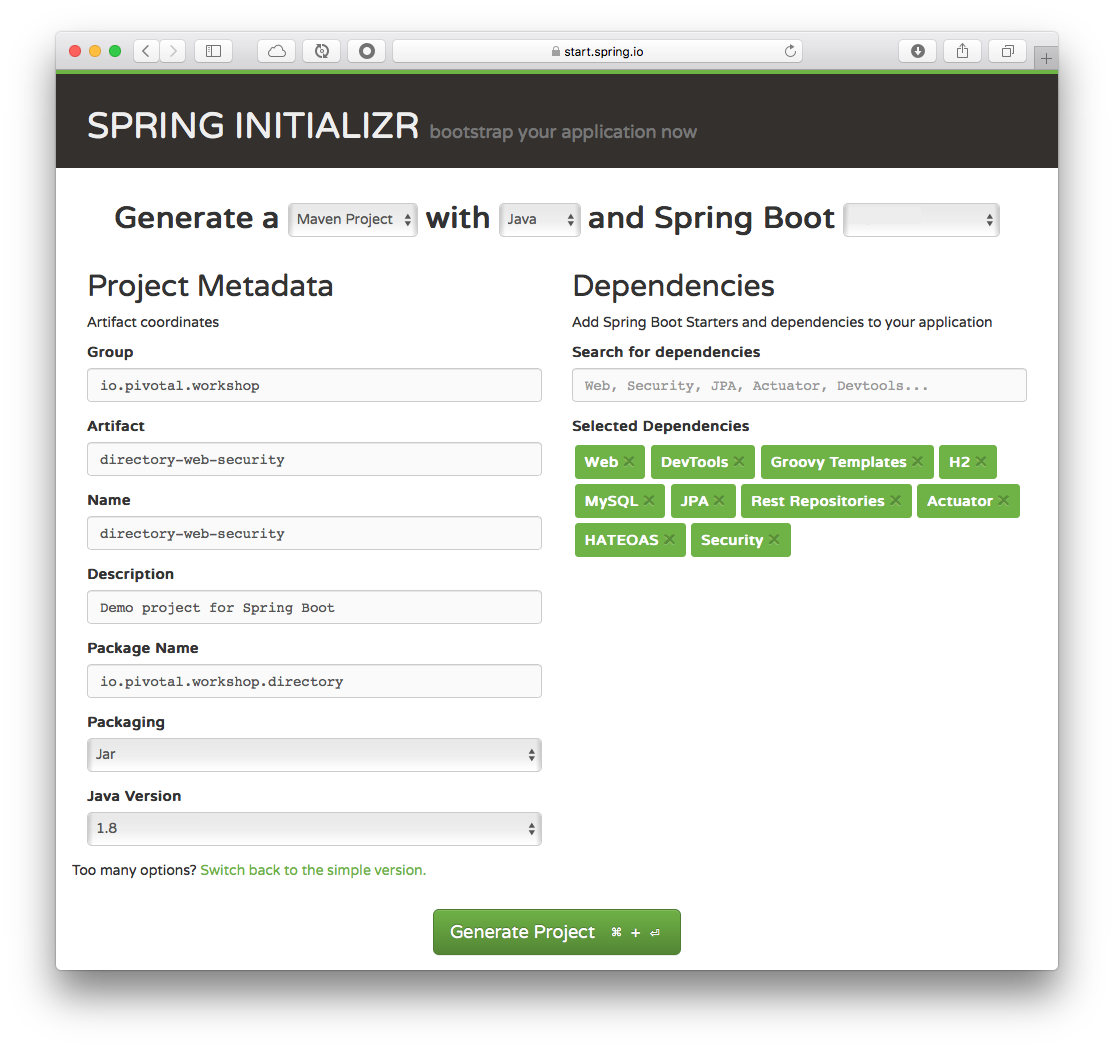
Fill out the Directory Web App Project metadata with (See Figure 1.0):
Table 1. Directory Web Security App - metadata Property Value Group:
io.pivotal.workshop
Artifact:
directory-web-security
Name:
directory-web-security
Package Name:
io.pivotal.workshop.directory
Dependencies:
Web, DevTools, H2, MySQL, Security, JPA, Rest Repositories, Actuator, HATEOAS, Groovy Templates
Spring Boot:
2.0.0.M7
Figure 1.0: Spring Initializr - http://start.spring.io Tip
TipYou can choose either Maven or Gradle project types. -
Type Web, DevTools, H2, MySQL, Security, JPA, Rest Repositories, Actuator, HATEOAS and Groovy Templates in the Dependencies field and press Enter.
-
Click the Generate Project button.
-
Unzip the file in any directory you want.
-
Import your project in any IDE you want.
-
You can copy the code from the first labs (Spring Boot Overview).
-
Because we are using JPA and Rest Repositories dependencies, lets convert the Person as entity. Create/Modify the Person class:
io.pivotal.workshop.directory.domain.Person.javapackage io.pivotal.workshop.directory.domain; import java.text.ParseException; import java.text.SimpleDateFormat; import java.util.Date; import javax.persistence.Column; import javax.persistence.Entity; import javax.persistence.GeneratedValue; import javax.persistence.Id; import javax.persistence.PrePersist; import javax.persistence.PreUpdate; import javax.persistence.Transient; import org.hibernate.annotations.GenericGenerator; @Entity public class Person { @Transient private SimpleDateFormat date = new SimpleDateFormat("yyyy-MM-dd"); @Id @GeneratedValue(generator = "system-uuid") @GenericGenerator(name = "system-uuid", strategy = "uuid") private String id; @Column(unique = true) private String email; private String name; private String password; private String role = "USER"; private boolean enabled = true; private Date birthday; @Column(insertable = true, updatable = false) private Date created; private Date modified; public Person() { this.created = new Date(); this.modified = new Date(); } public Person(String email, String name, String password, String birthday) { this(); this.email = email; this.name = name; this.password = password; try { this.birthday = date.parse(birthday); } catch (ParseException e) { this.birthday = null; } } public Person(String email, String name, String password, Date birthday) { this(); this.email = email; this.name = name; this.password = password; this.birthday = birthday; } public Person(String email, String name, String password, String birthday, String role, boolean enabled) { this(email, name, password, birthday); this.role = role; this.enabled = enabled; } public String getId() { return id; } public void setId(String id) { this.id = id; } public String getEmail() { return email; } public void setEmail(String email) { this.email = email; } public String getName() { return name; } public void setName(String name) { this.name = name; } public String getPassword() { return password; } public void setPassword(String password) { this.password = password; } public Date getBirthday() { return birthday; } public void setBirthday(Date birthday) { this.birthday = birthday; } public Date getCreated() { return created; } public Date getModified() { return modified; } public String getRole() { return role; } public void setRole(String role) { this.role = role; } public boolean isEnabled() { return enabled; } public void setEnabled(boolean enabled) { this.enabled = enabled; } @PrePersist void onCreate() { this.created = new Date(); this.modified = new Date(); } @PreUpdate void onUpdate() { this.modified = new Date(); } }See that we are using the @Entity and @Id annotations from JPA. What is new in this class is the two new fields: role and enabled, that we are going to use later on.
-
Next, create/modify the PersonRepository class:
io.pivotal.workshop.directory.repository.PersonRepository.javapackage io.pivotal.workshop.directory.repository; import org.springframework.data.repository.CrudRepository; import io.pivotal.workshop.directory.domain.Person; import org.springframework.data.repository.query.Param; public interface PersonRepository extends CrudRepository<Person,String>{ public Person findByEmailIgnoreCase(@Param("email") String email); }This is part of the spring-data project, where only by extending from the CrudRepository<T,ID> interface we get all the persistence functionality. Also take a look that we are defining a findBy named method, that will be also implemented for us.
-
Next, let create a configuration that will initialize our database:
io.pivotal.workshop.directory.config.DirectoryConfig.java@Configuration public class DirectoryConfig extends WebMvcConfigurerAdapter { @Override public void addViewControllers(ViewControllerRegistry registry) { registry.addViewController("/").setViewName("views/home"); } @Bean public CommandLineRunner directoryProcess(PersonRepository repo) { return args -> { repo.save(new Person("admin", "Administrator", "admin", "1980-08-22", "ADMIN", true)); repo.save(new Person("john@email.com", "John C.", "simplepwd", "1980-08-03", "USER", true)); repo.save(new Person("mike@email.com", "Mike H.", "simplepwd", "1980-04-10", "USER", true)); repo.save(new Person("mark@email.com", "Mark S.", "simplepwd", "1981-10-08", "USER", true)); repo.save(new Person("dan@email.com", "Dan B.", "simplepwd", "1981-10-08", "ACTUATOR", true)); }; } }As you can see we are extending from WebMvcConfigurerAdapter and the purpose of this is to configure our home page (or view) by overriding the addViewControllers method (this is another way to configure a web controller).
-
We need to add our own security based on the Person class. Let’s add the security configuration. Create the DirectorySecurityConfig class:
io.pivotal.workshop.directory.config.DirectorySecurityConfig.javapackage io.pivotal.workshop.directory.config; import io.pivotal.workshop.directory.security.DirectoryUserDetailsService; import org.springframework.boot.actuate.autoconfigure.security.EndpointRequest; import org.springframework.boot.autoconfigure.security.StaticResourceRequest; import org.springframework.context.annotation.Configuration; import org.springframework.security.config.annotation.authentication.builders.AuthenticationManagerBuilder; import org.springframework.security.config.annotation.web.builders.HttpSecurity; import org.springframework.security.config.annotation.web.configuration.WebSecurityConfigurerAdapter; @Configuration public class DirectorySecurityConfig extends WebSecurityConfigurerAdapter{ private DirectoryUserDetailsService userDetailsService; public DirectorySecurityConfig(DirectoryUserDetailsService userDetailsService){ this.userDetailsService = userDetailsService; } @Override protected void configure(HttpSecurity http) throws Exception { http .authorizeRequests() .requestMatchers(EndpointRequest.to("status", "info")) .permitAll() .requestMatchers(EndpointRequest.toAnyEndpoint()) .hasRole("ACTUATOR") .requestMatchers(StaticResourceRequest.toCommonLocations()) .permitAll() .antMatchers("/api/**").hasRole("ADMIN") .antMatchers("/").permitAll() .and() .formLogin(); } @Override public void configure(AuthenticationManagerBuilder auth) throws Exception { auth.userDetailsService(this.userDetailsService); } }As you can see we are extending from WebSecurityConfigurerAdapter and it give us a way to override some methods, in this case the configure(HttpSecurity) (that provides an easy way to configure the request access) and configure(AuthenticationManagerBuilder (where we are adding our custom secured service, in this case the UserDetailsService).
-
Next, create the DirectoryUserDetailsService class that will have our custom access to our own schema:
io.pivotal.workshop.directory.security.DirectoryUserDetailsService.javapackage io.pivotal.workshop.directory.security; import io.pivotal.workshop.directory.domain.Person; import io.pivotal.workshop.directory.repository.PersonRepository; import org.springframework.security.core.userdetails.User; import org.springframework.security.core.userdetails.UserDetails; import org.springframework.security.core.userdetails.UserDetailsService; import org.springframework.security.core.userdetails.UsernameNotFoundException; import org.springframework.stereotype.Component; @Component public class DirectoryUserDetailsService implements UserDetailsService { private PersonRepository repo; public DirectoryUserDetailsService(PersonRepository repo) { this.repo = repo; } @Override public UserDetails loadUserByUsername(String username) throws UsernameNotFoundException { try { final Person person = this.repo.findByEmailIgnoreCase(username); return User.withDefaultPasswordEncoder().username(person.getEmail()).password(person.getPassword()).roles(person.getRole()).build(); }catch(Exception ex){ ex.printStackTrace(); throw new UsernameNotFoundException(username); } } }In this class we are including the PersonRepository and we are using the findByEmail method. See that we are implementing the UserDetailsService interface and we are implementing the loadUserByUsername that returns a UserDetails.
-
Next, open the src/main/resources/application.properties file and add/modify it to look like the following:
src/main/resources/application.properties## Server server.port=${port:8585} ## REST spring.data.rest.base-path=api ## ACTUATOR management.context-path=/admin ## JPA spring.jpa.generate-ddl=true spring.jpa.hibernate.ddl-auto=create-dropAs you can see, all these properties are well known from previous labs. The Rest repository is exposed in the /api endpoint and the spring-boot-actuator endpoint at the /admin context-path.
-
Add the necessary UI, remember where? Here are the files you need:
-
Don’t forget to add the necessary dependencies in your pom.xml or build.gradle.
pom.xml<dependency> <groupId>org.webjars</groupId> <artifactId>jquery</artifactId> <version>2.2.4</version> </dependency> <dependency> <groupId>org.webjars</groupId> <artifactId>bootstrap</artifactId> <version>3.3.6</version> </dependency> <dependency> <groupId>org.webjars</groupId> <artifactId>angularjs</artifactId> <version>1.5.7</version> </dependency>build.gradlecompile('org.webjars:jquery:2.2.4') compile('org.webjars:bootstrap:3.3.6') compile('org.webjars:angularjs:1.5.7') -
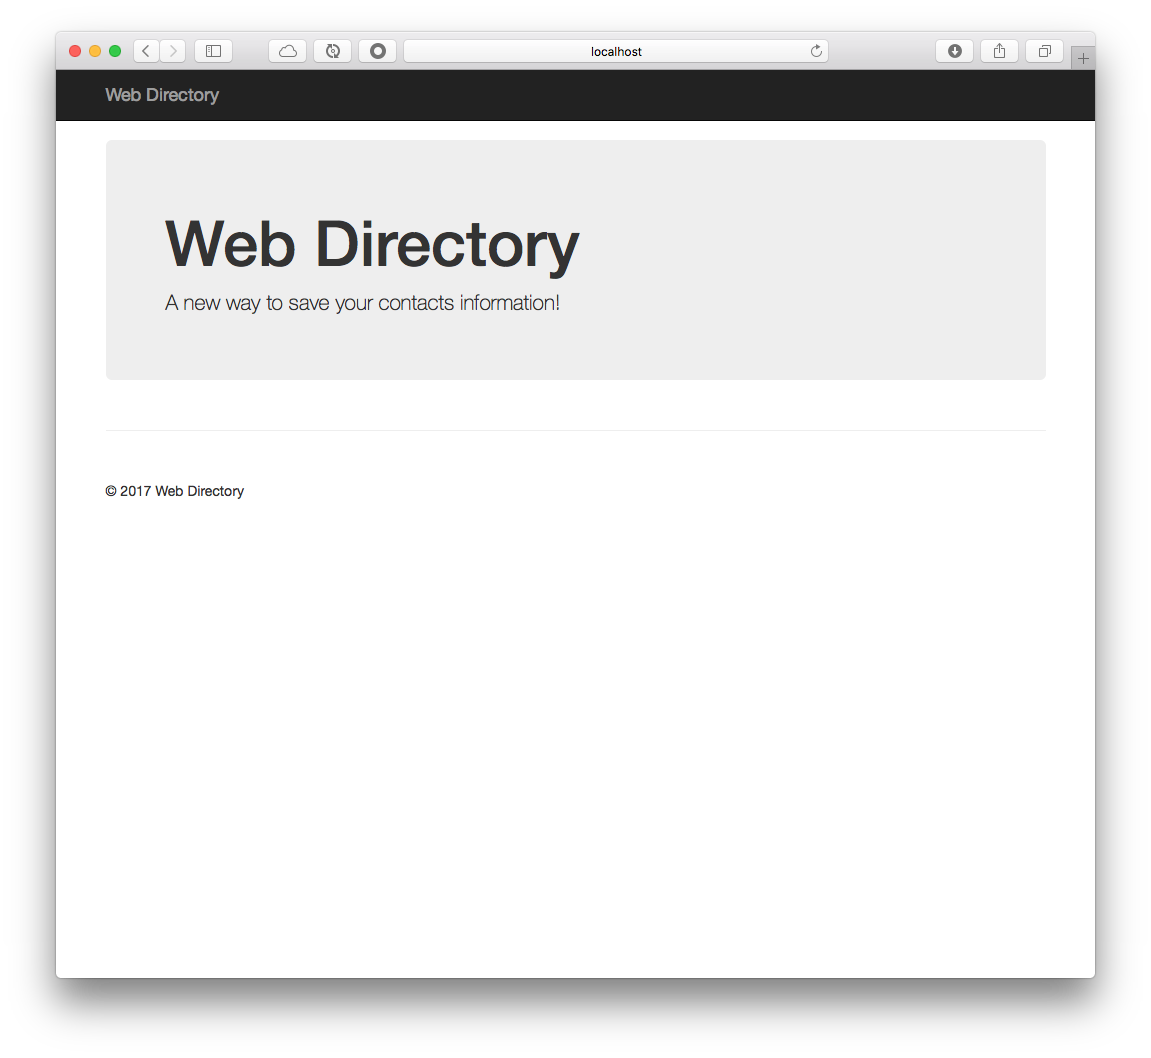
Run the application, either command line or through your IDE. If you go to the http://localhost:8585 in your browser, you should get the same as the following Figure 2.0:
Figure 2.0: Directory Web Security App - http://localhost:8585
-
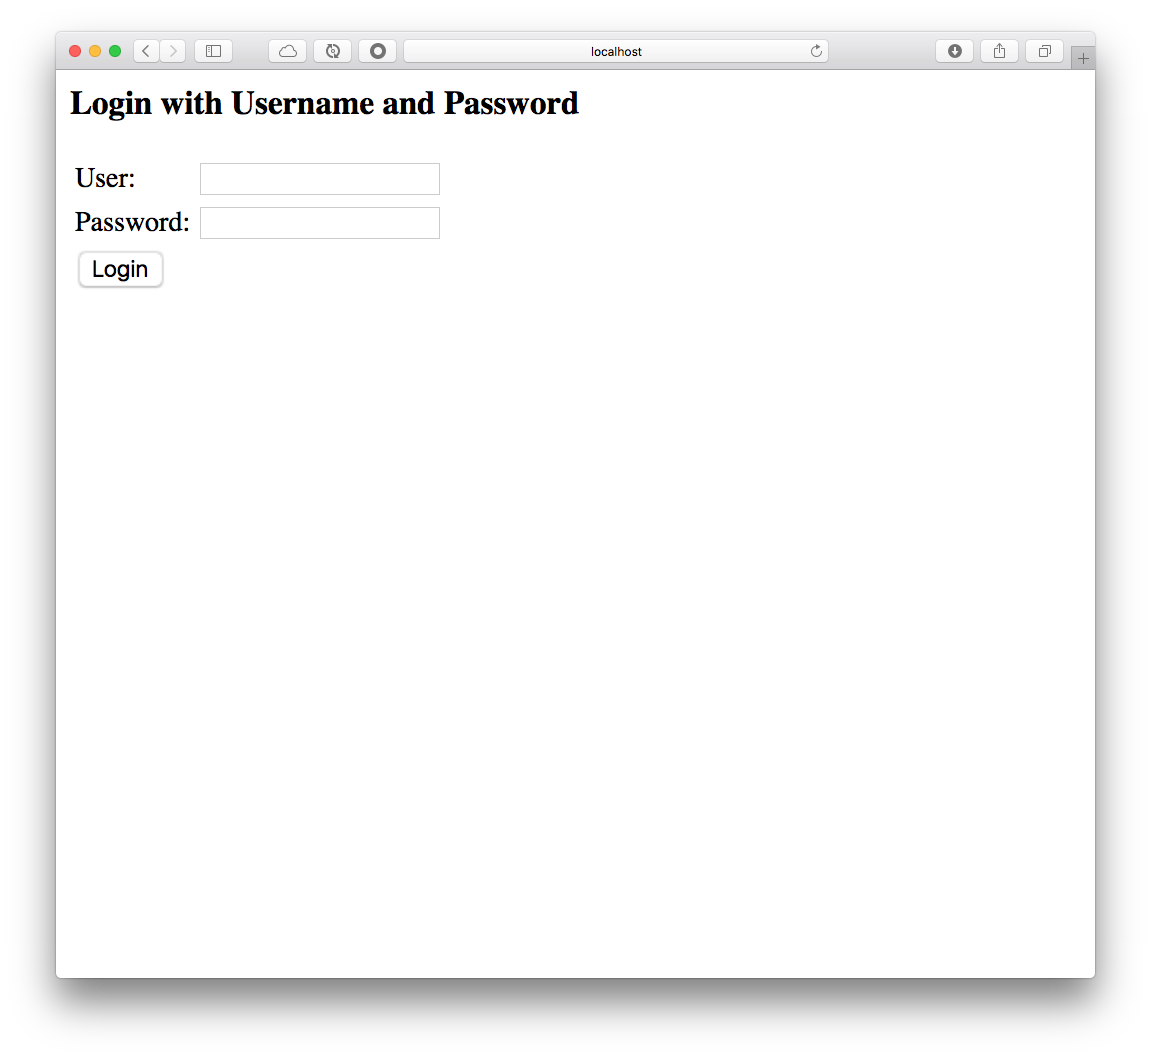
If you try to go to the http://localhost:8585/api, you should get the following Figure 3.0:
Figure 3.0: Directory Web Security App Login - http://localhost:8585/api
You can now use one of the persons we added in the configurations, for example use: admin and admin as password, and you should get now the Person Repository Rest API response.
|
Tip
|
If by any reason during the testing in your browser you get the "403 - Forbidden error", try to remove the CACHE from your browser. Remember that you can still use a curl command or if you are a Windows user, you can use POSTMAN https://www.getpostman.com/.
|
Code Snippet Manager Security
The purpose of this Lab is to add security to your Code Snippet Manager and prepare it for the Challenges. The idea is that the Code Snippet Manager will use the directory-web-security to authenticate to use the snippet /api.
You will reuse the code from the code-snippet-manager-actuator project.
-
Open a browser and hit the url: http://start.spring.io
-
Click the Switch to the full version link.
-
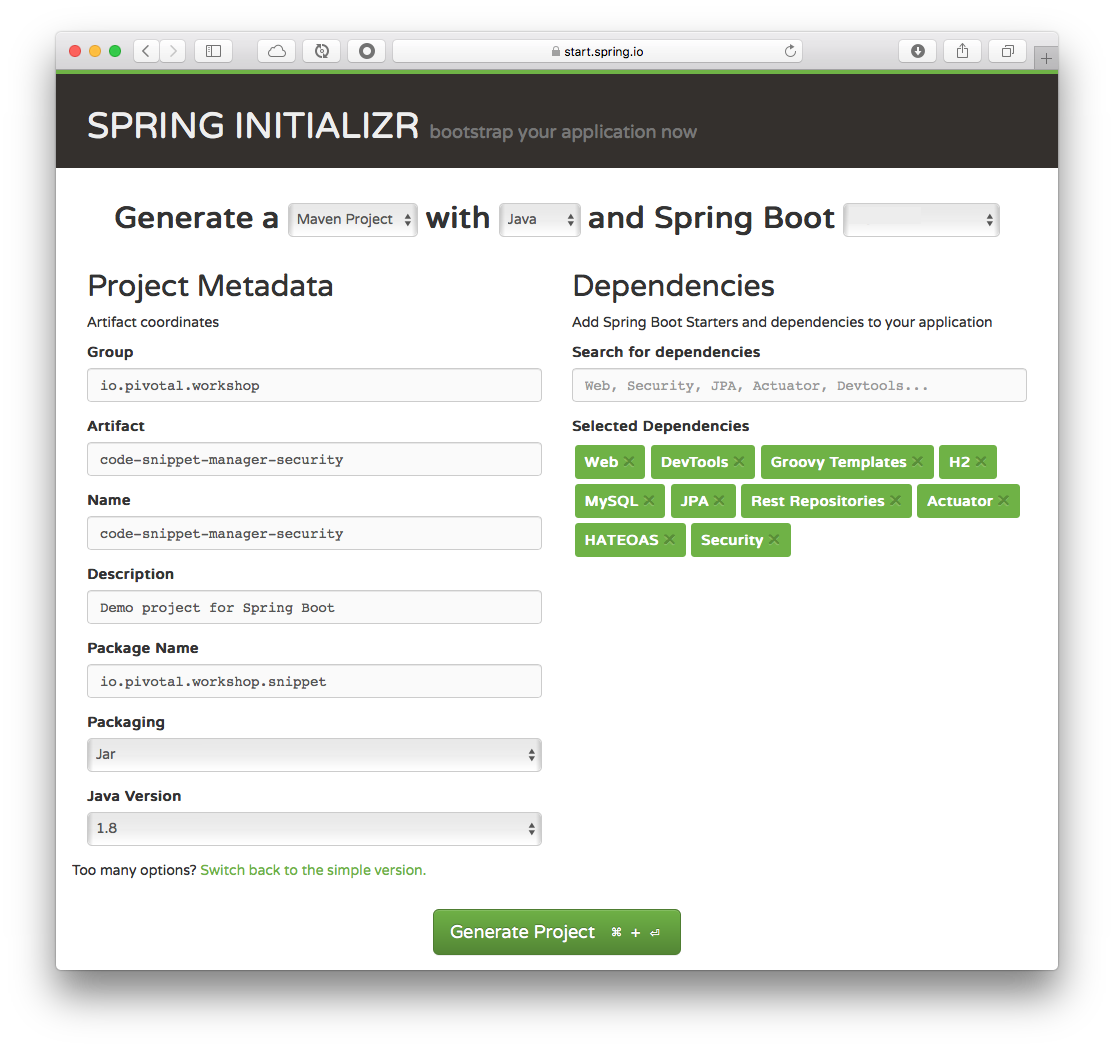
Fill out the Code Snippet Manager Security Project metadata with (See Figure 1.0):
Table 2. Code Snippet Manager Security App - metadata Property Value Group:
io.pivotal.workshop
Artifact:
code-snippet-manager-security
Name:
code-snippet-manager-security
Package Name:
io.pivotal.workshop.snippet
Dependencies:
Web, DevTools, H2, MySQL, Security, JPA, Rest Repositories, Actuator, HATEOAS, Groovy Templates
Spring Boot:
2.0.0.M7
Figure 1.0: Spring Initializr - http://start.spring.io Tip
TipYou can choose either Maven or Gradle project types. -
Type Web, DevTools, H2, MySQL, Security, JPA, Rest Repositories, Actuator, HATEOAS and Groovy Templates in the Dependencies field and press Enter.
-
Click the Generate Project button.
-
Unzip the file in any directory you want.
-
Import your project in any IDE you want.
-
Copy all the code from code-snippet-manager-actuator
-
Create a io.pivotal.workshop.snippet.domain.Person class. This will be use for using the directory-web-security domain.
/src/main/java/io/pivota/workshop/snippet/domain/Person.javapackage io.pivotal.workshop.snippet.domain; import com.fasterxml.jackson.annotation.JsonIgnoreProperties; @JsonIgnoreProperties(ignoreUnknown = true) public class Person { private String email; private String password; private String role; public String getEmail() { return email; } public void setEmail(String email) { this.email = email; } public String getPassword() { return password; } public void setPassword(String password) { this.password = password; } public String getRole() { return role; } public void setRole(String role) { this.role = role; } }TipYou can get all the templates, css and js files from other projects. -
That’s it, just preparing the code-snippet-manager for the Challenges
Challenges
-
Make sure you have access to the /admin/health actuator endpoint in the directory-web-security project. Use the user that has the role ACTUATOR.
-
Make the HOME PAGE is only reachable to users with role USER in the directory-web-security project*.
-
Modify the code-snippet-manager-security project and use the directory-web-security project as authentication authority.
HOMEWORK
-
Add SSL to both projects.